Configure the FullContact webtag
This guide will walk you through how to generate a FullContact webtag for installation on one or more websites, that can be used with either our Customer Recognition or Acumen products.
Steps
Step 1: Navigate to Platform
You will need to have a FullContact platform account, if you don't have one already. Contact our solutions team to inquire about having an account setup on your behalf, that is provisioned with initial access to products that fit your use case.
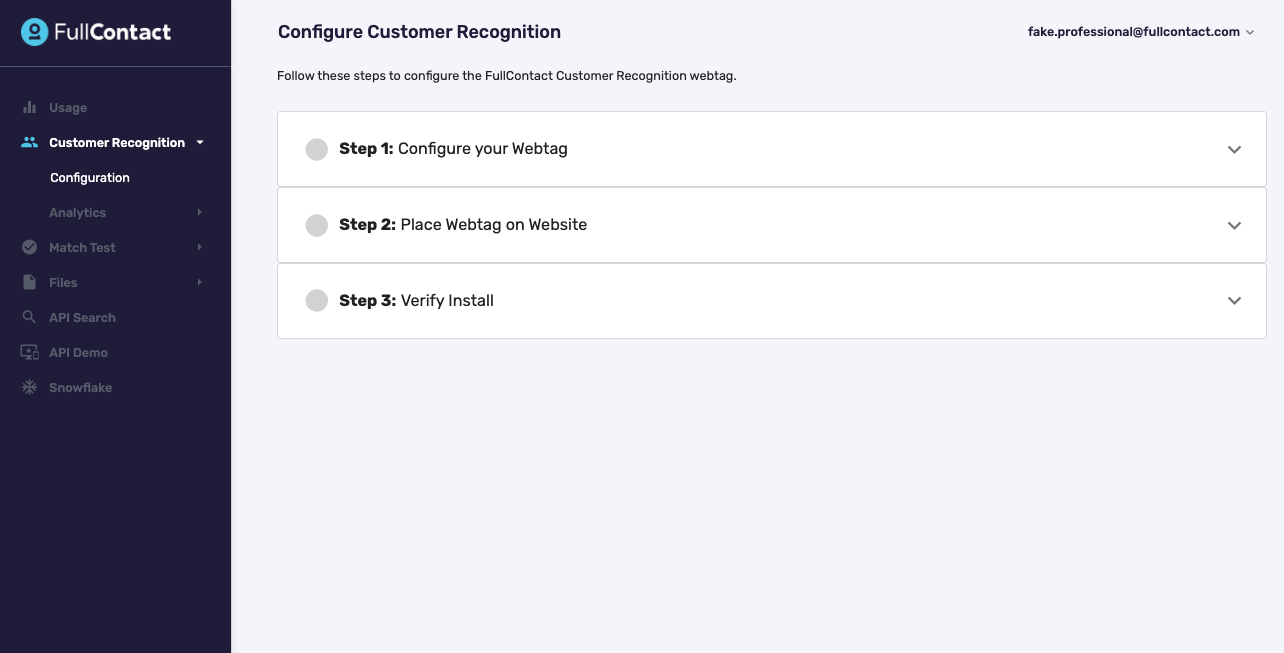
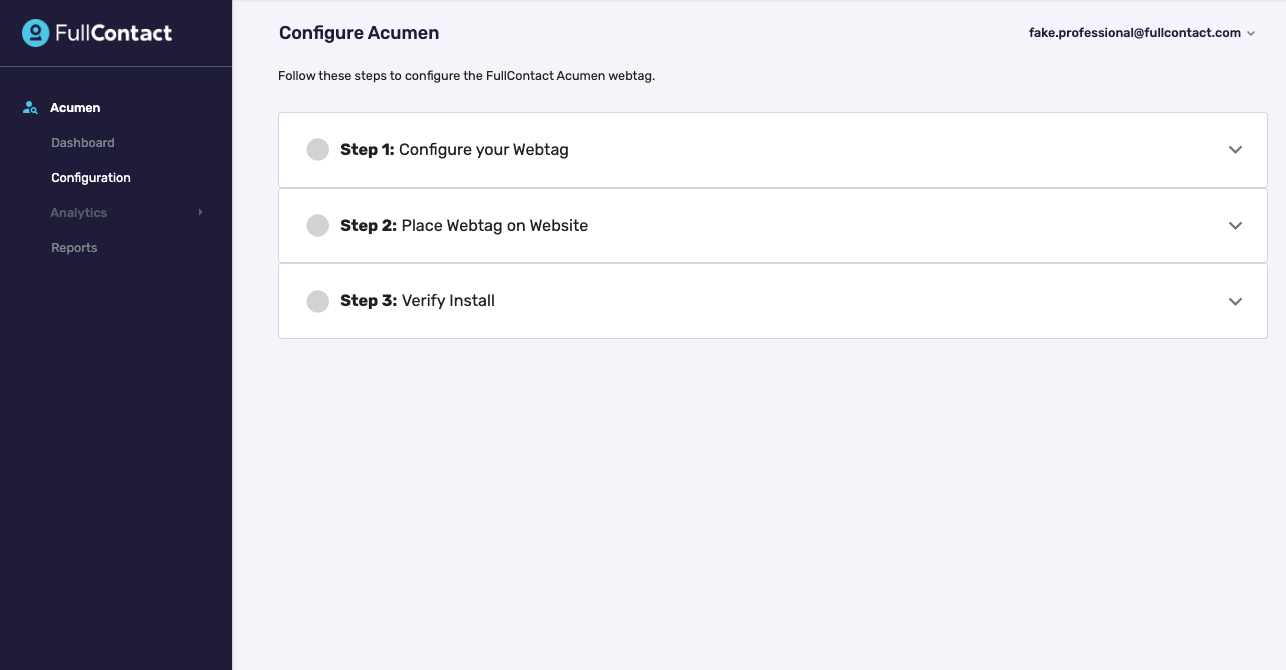
Once your account has been created with access to either the Customer Recognition or Acumen product, navigate to the corresponding section and work through the configuration wizard.
Customer Recognition View
Acumen View
Step 2: Whitelist Domains
Expand Configure Your Webtag and the first option is to whitelist your domains.
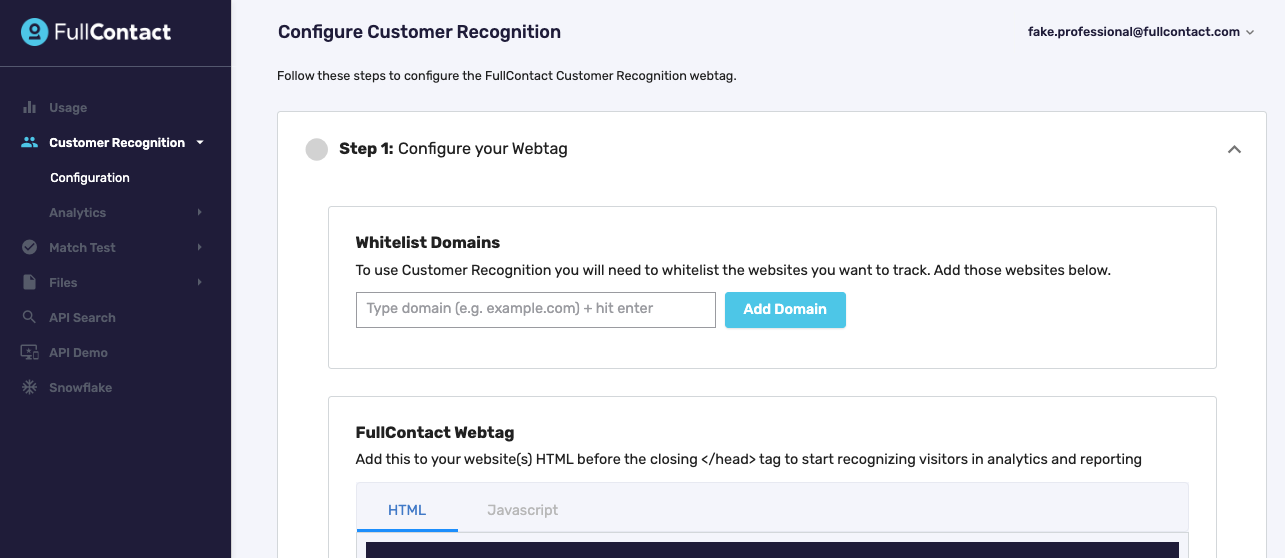
It is required to whitelist all of the websites you are looking to track using the FullContact webtag.
Ex: homestore.com is the website where the tag will be embedded, so we type that in the input field and hit Add Domain.
You can either key in each domain individually if you are tracking just a handful of websites, or if you are tracking a large amount of websites you can add a simple regular expression to whitelist all domains using your webtag and its embedded key.
To add the regular expression to track multiple domains, type in a period and asterisk - .*
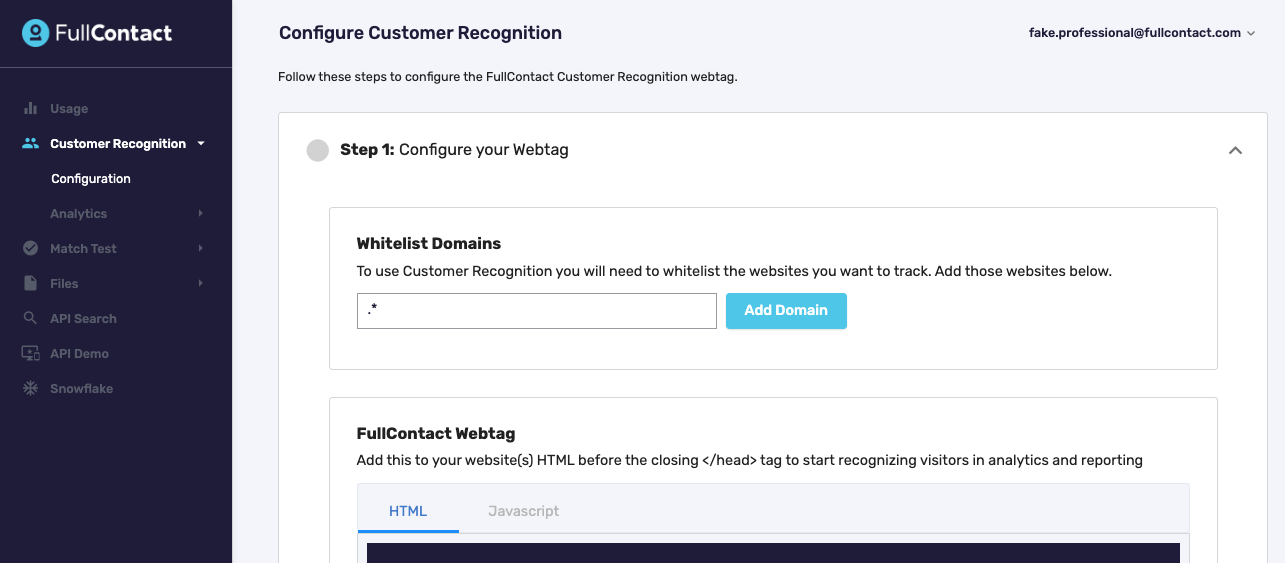
The UI will recognize this regular expression, and indicate that all domains are whitelisted.

Step 3: Advanced Settings
Let's walk through the advanced configuration settings. These settings are optional, but do contain some powerful features that you should consider enabling for your installation.
Manage Consent (Customer Recognition & Acumen Products)
This option allows you to display a banner to manage consent on your website. Useful if you have not implemented some other measures to capture tracking consent on your website including but not limited to the implementation of a Consent Management Platform (CMP).
View this documentation for an in depth overview of this feature and how it works.
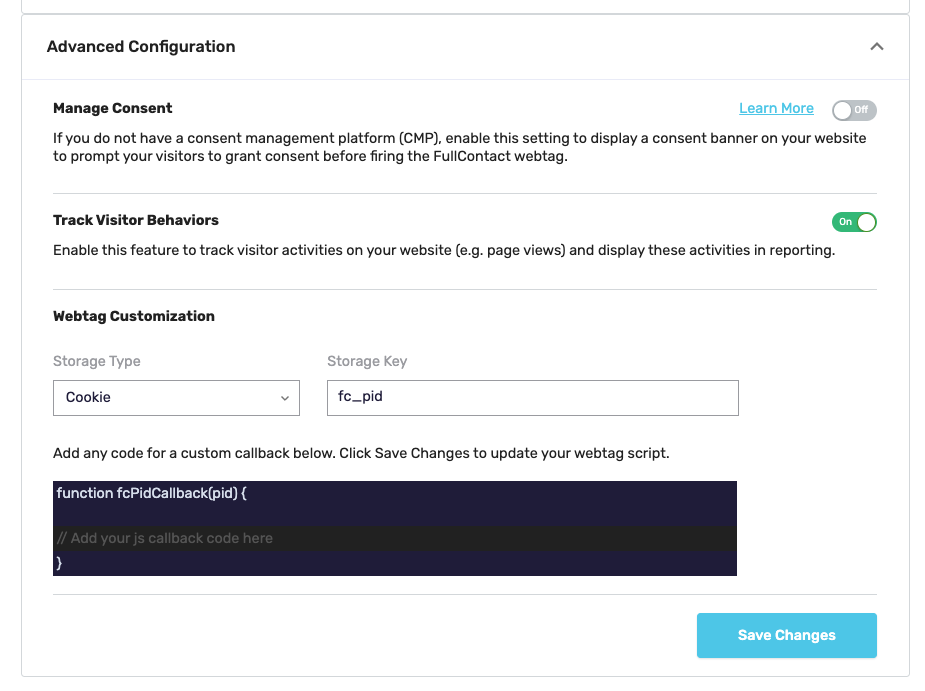
Track Visitor Behaviors (Acumen Product Only)
Track Visitor Behaviors will record a visitor's page visits, sequence of pages visited on your website and time spent on your pages and tie them back to a specific lead's profile. The sequence of pages a lead has visited shows up in the Acumen lead report when a user clicks on a lead.
If you would like to view these analytics, turn this toggle on and click save.
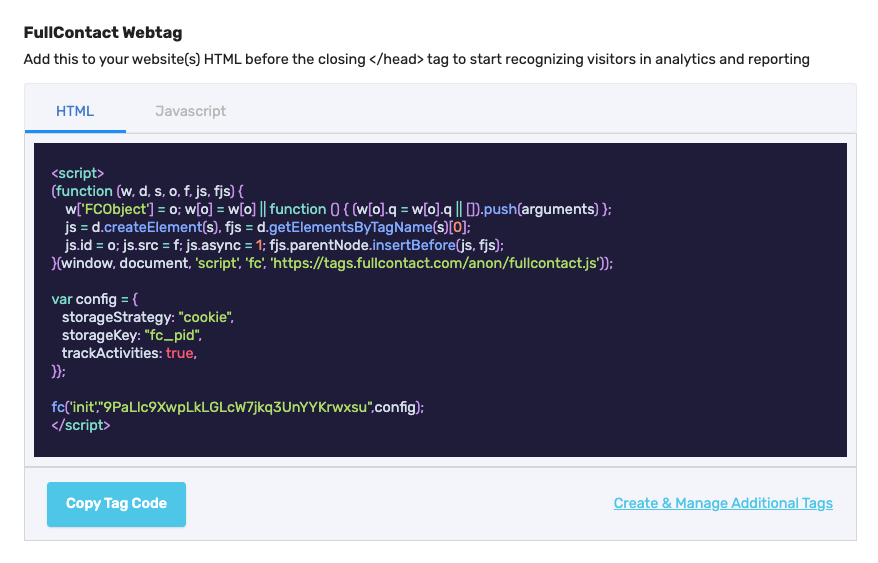
If you are interested in what changed in the webtag - Once enabled a new setting called trackActivities will be added to the config section.
trackActivities: trueHere is a screenshot showing that setting within your webtag code:
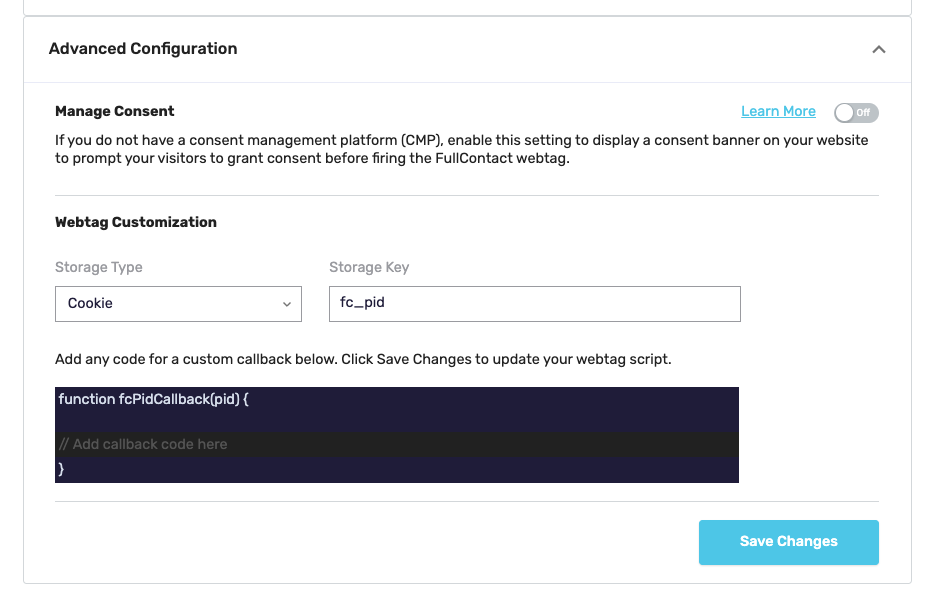
Webtag Customization (Customer Recognition & Acumen Products)
You also have the option to choose how you would like to store the FullContact PersonID (cookie or local storage), and add a callback function.
Callback FunctionIf you would like to add a callback function to handle the PersonID, you can type it in the code block directly to integrate it into your tag installation.
Step 4: Install Webtag
Now that your webtag is customized for your usage, you need to install it using a tag manager or directly on your website.
Click Copy Tag Code to grab the code. We've provided both an HTML and Javascript version of the webtag for ease of use.
If you are less familiar with how to install the webtag on your website, we've provided instructions on how to install the webtag on a number of popular web based platforms. These instructions are summarized, with links to expanded documentation within the configuration wizard - see screenshot below.

Step 5: Verify your webtag installation
Once your webtag is installed and starts to send events, platform can automatically complete this step on its own. This approach will vary based on the circumstances on your website, most times this verification may autocomplete within the first hour.
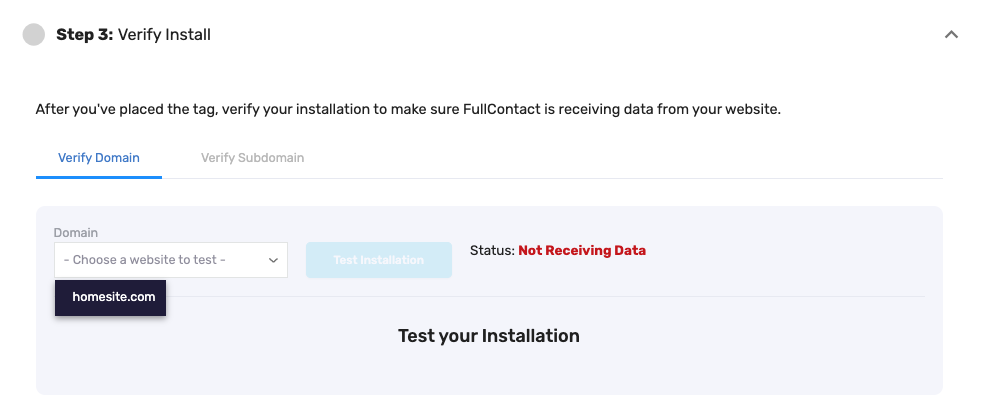
If you've just installed the webtag and want to manually verify the installation immediately, for either your top level domain or subdomain, you can choose your whitelisted website from under the Domain dropdown.
This is what you will see before we've successfully verified your installation.
If the webtag is installed correctly, both step 2 + step 3 will appear as complete (green checkmark).
If this manual check indicates your webtag might not be installed correctly, a couple of things to consider:
- The check will fail if there are active ad blockers
- The check will fail if there is a consent banner already in place on the website
You're Done!
Now that the webtag is installed, you should start to see data flowing into the Customer Recognition / Acumen products.
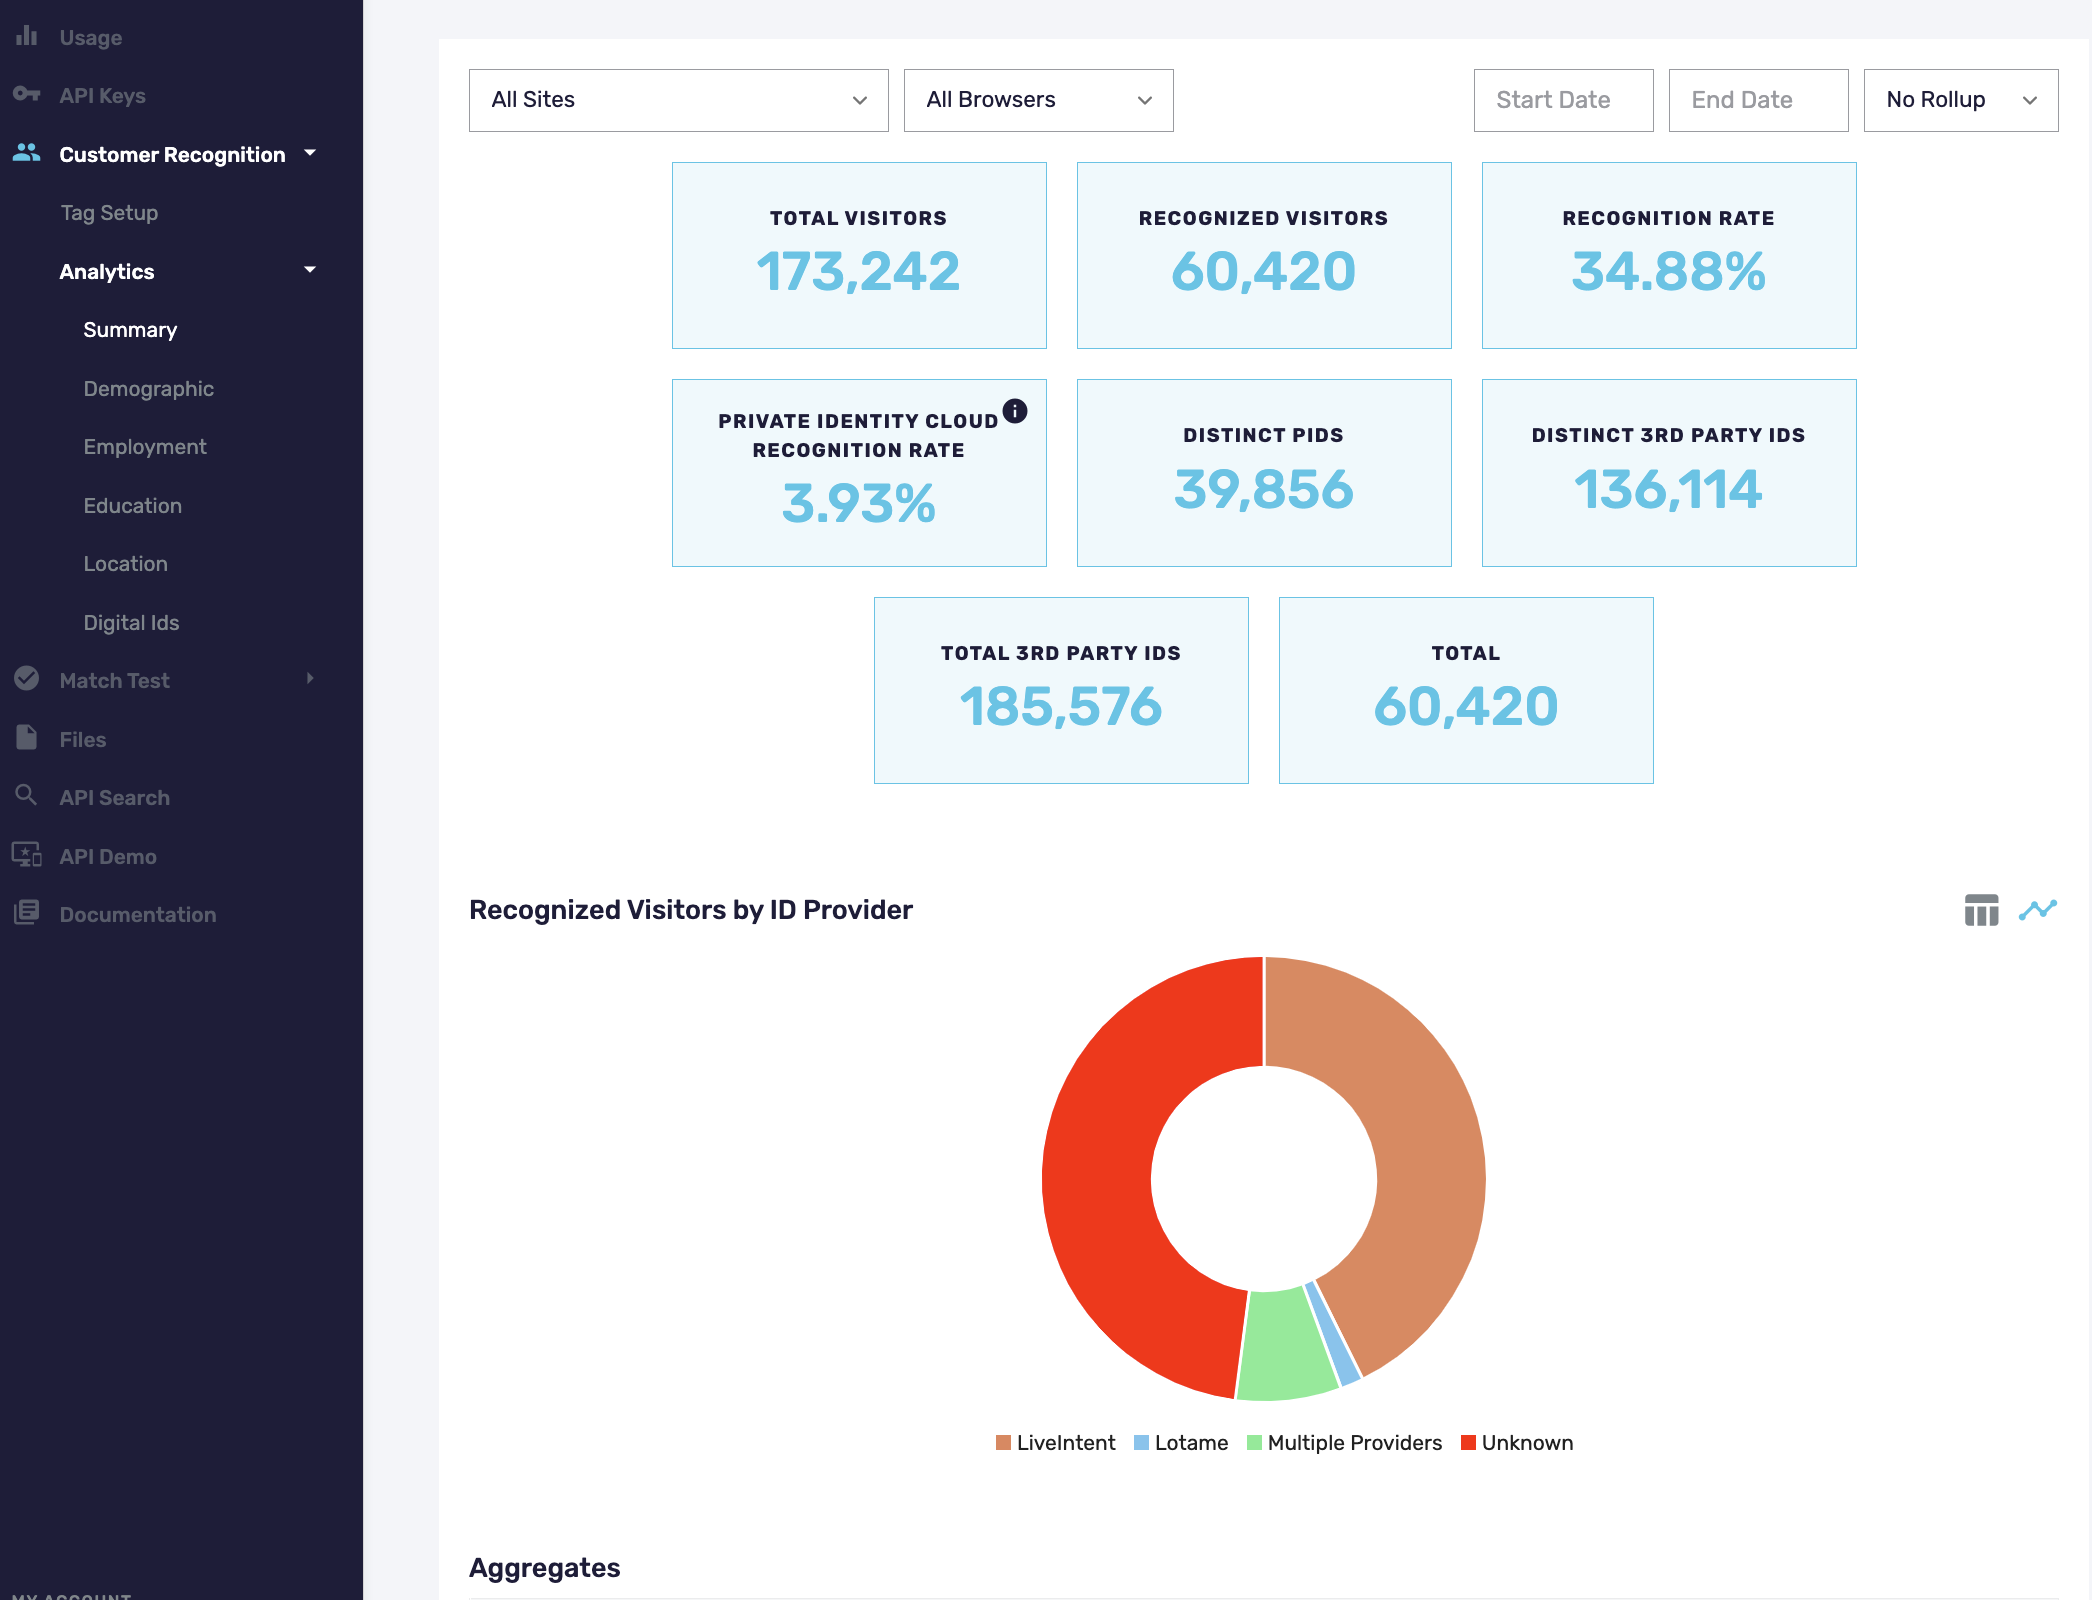
For Customer Recognition, you can navigate to the Analytics section of the Customer Recognition navigation menu to see a dashboard of data.
For Acumen, leads will start to display in the Reports section (Acumen > Reports).
Updated about 1 year ago