Google Analytics
<h4 style={{ color: "#000000" }}>Google Analytics</h4>
To start seeing PersonIDs in your Google Analytics environment, it's easy using the Google Tag Manager integration:
<h2>Using the Google Tag Manager integration</h2>
In Google Tag Manager - Create a new tag, and under Tag Configuration, select Custom HTML. Paste your generated FullContact Tag and give it an appropriate name.
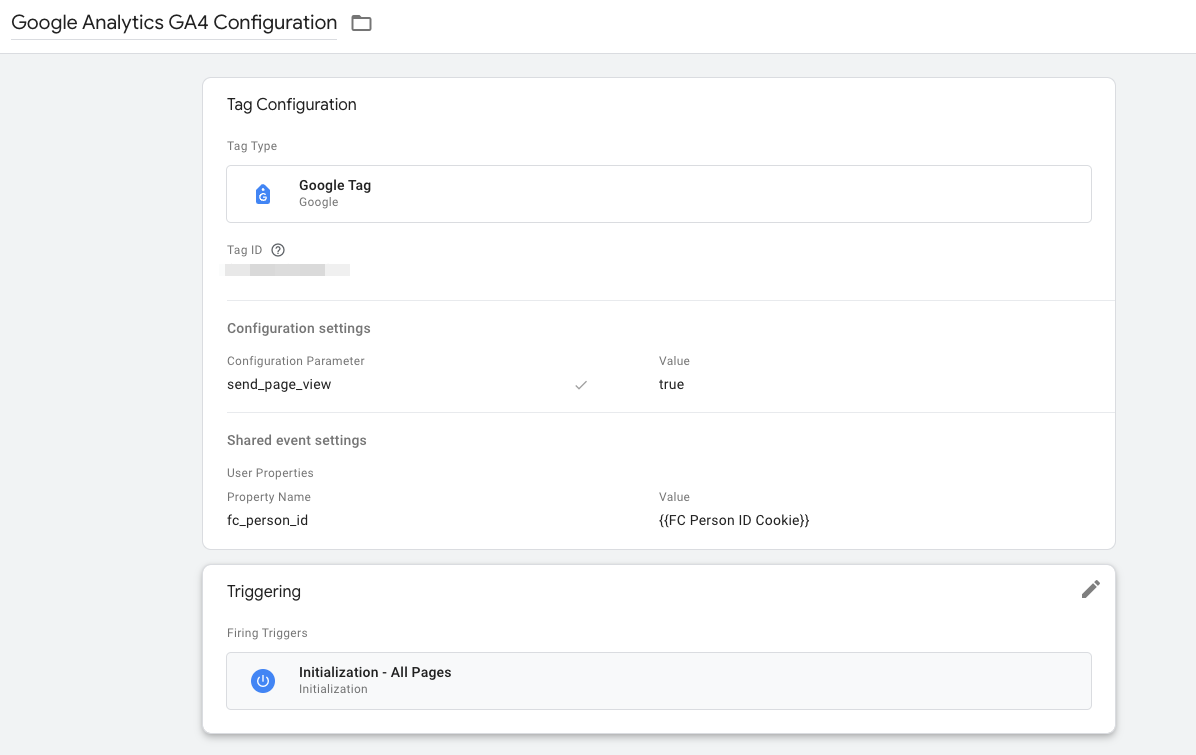
Set the "Tag Type" to a "Google Tag", and the setup wizard will walk you through selecting your Google Analytics environment. Afterwards, configure the tag as you would like - we recommend triggering on Initialization - All Pages, so that the PersonID is returned, regardless of what page your visitor is on:
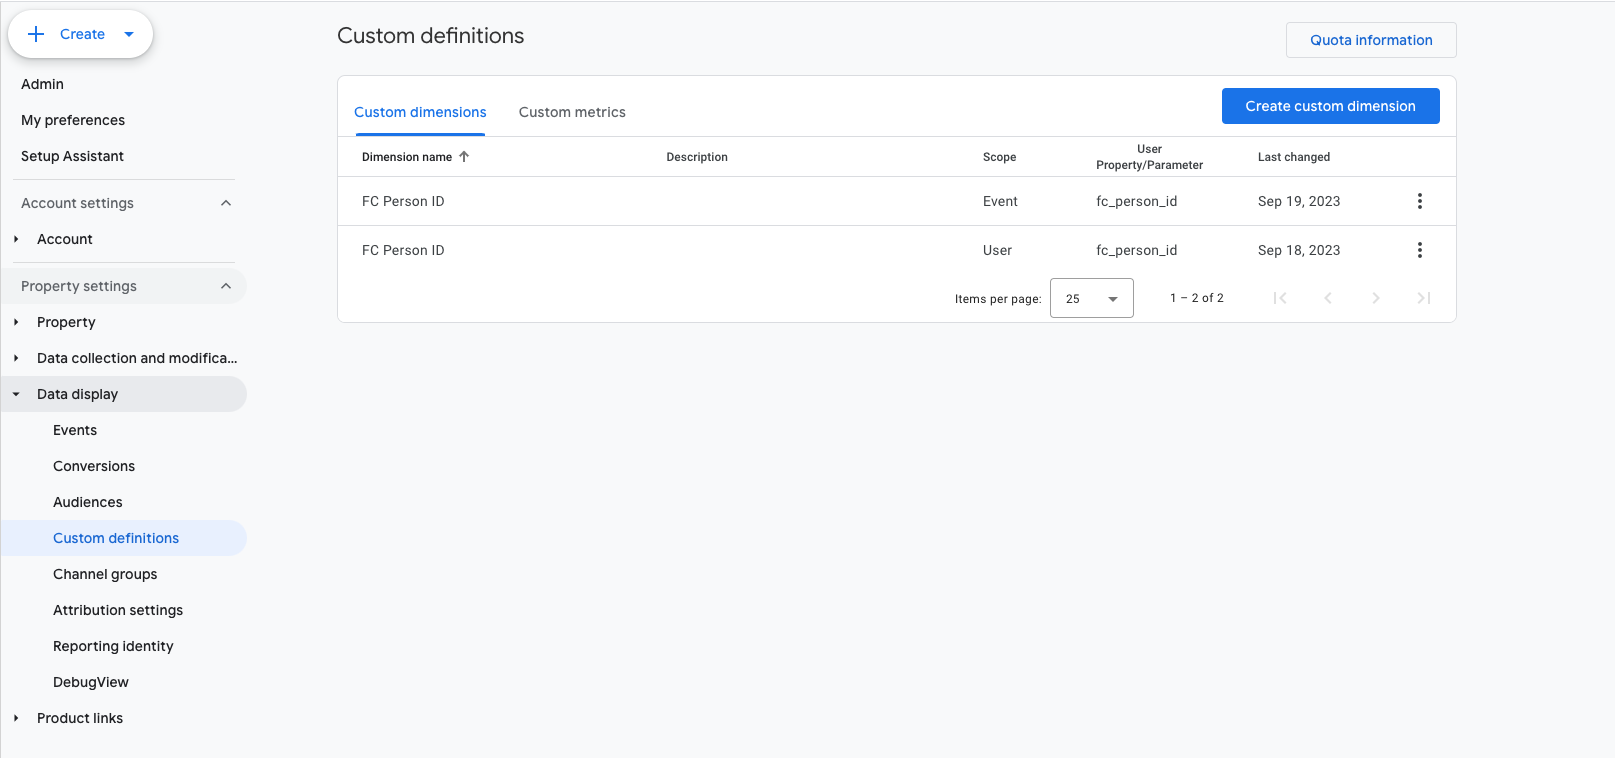
Next, importantly, don't forget to create the PersonID as a "Custom Definition" in Google Tag Manager - that way, it will show up as a value in Google Analytics. Go to **Property settings > Data Display > Custom Definitions >** and press the button "Create custom dimension" in blue. You can make the PersonID either an event or a user dimension - whichever makes more sense to your setup (it will not impact the import into GA):
<h2>Now, in Google Analytics</h2>
Once the Google Tag is setup and running, Google Analytics should be tracking data automatically. To see the PersonID dimension you have set up, go to **User > User Attributes > Demographic details** (or really anywhere with a table tracking your site visitors). Then, use the Search on the table to look for your "Custom" dimension:
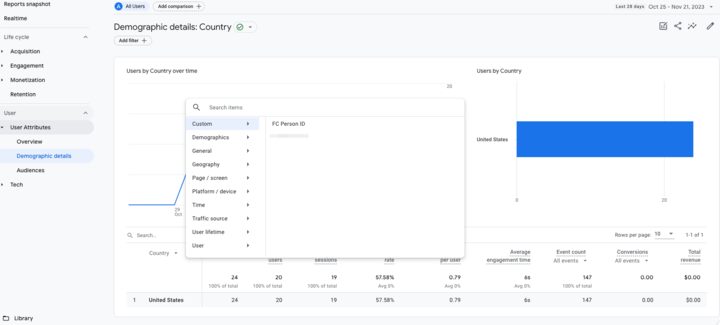
The PersonID should now be showing as a column! To export the list of all PersonIDs for later enrichment using FullContact's Person.Enrich API, use the Share/Export button on the top right of the screen. Happy analyzing!

> 📘 Still have questions? Contact us!
>
> [[email protected]](mailto:[email protected])Updated about 1 year ago
Did this page help you?