Framer
Getting Started
Let's get the FullContact webtag installed on your Framer website!
Does your Framer plan support custom code blocks?This walkthrough will assume you have upgraded from the free version of Framer to a site plan subscription that will also support the inclusion of Custom Code. You will need to be able to insert our webtag (javascript) into your website in order for this product to work.
Step 1
In your Framer project, click the gear to access your Site Settings.
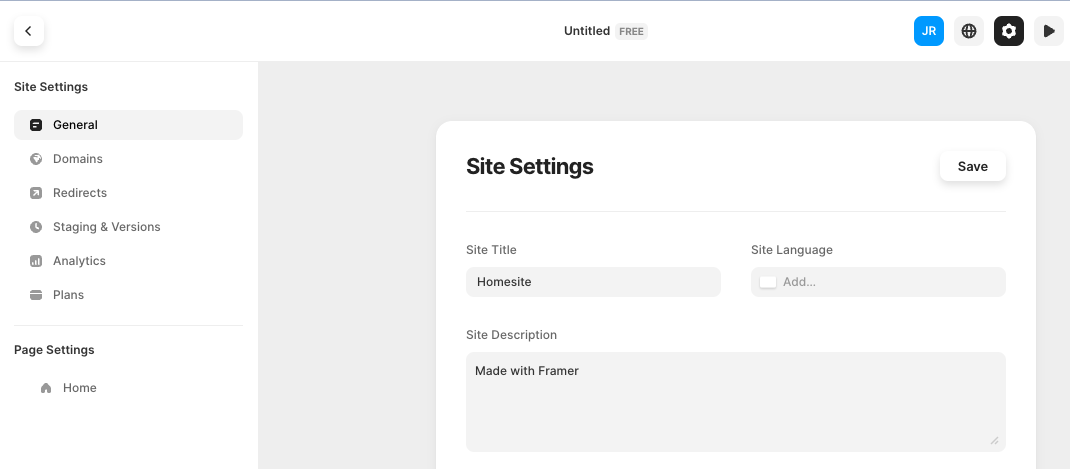
Find the section at the bottom for Custom Code.
Step 2
Access the FullContact platform and copy the webtag script if you haven't already.
You can find your FullContact webtag from within the Configuration section, or access or create a new webtag from within the Settings section of platform.
Step 3
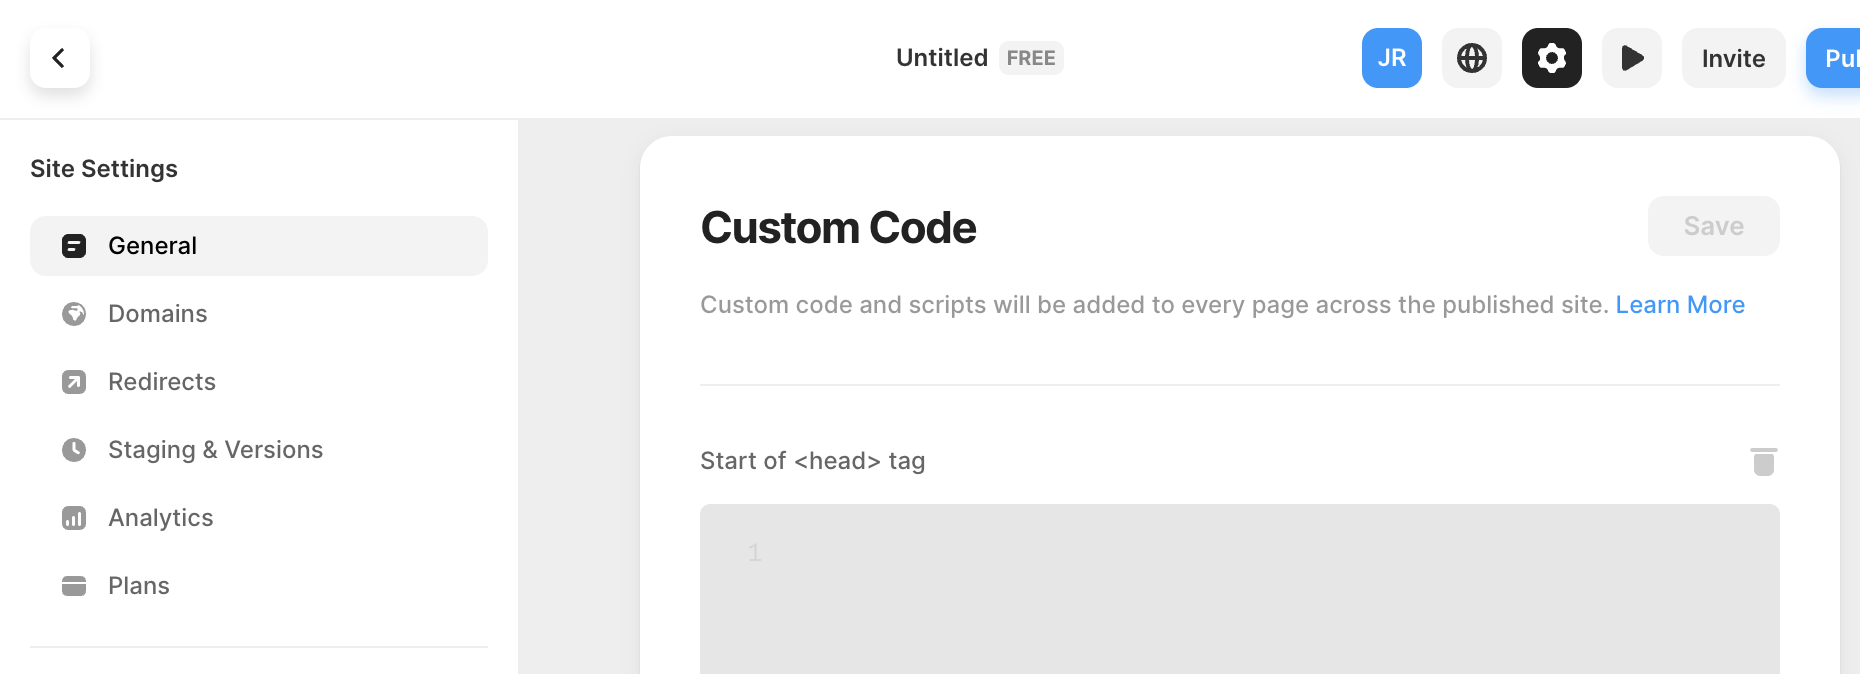
Within the Custom Code section, paste the webtag code in the appropriate field for how you want the tag to load on your website - typically within the head or after the page loads (End of <body> tag).
For the best opportunity to track a visitor on the page, we recommend pasting the script in the head of your website, either in the available field for Start of <head> tag or End of <head> tag.
Once pasting in the script, make sure to hit Save to save your changes.
Step 4
After installing your tag, you can access the FullContact platform to verify your installation.
Access Configuration > Verify Install
You can choose the website you want to test and click Test Installation.
You're Done!
Great! Now you've installed the FullContact webtag on your Framer website. You can also refer to this video walkthrough for adding Custom Code to your Framer website.
You will start to see analytics populate within the FullContact platform over the next 12-24 hours.
Updated about 1 year ago